At this point I start to realize how much lighting is important. For this reason I wanted to search further and experiment with my flash. So far the only things I have done with these were to place them in a softbox while my subject was quite often in a lightbox … yep I was scared of overexposing but now, I definitely understand light much better.
Here is a test that I have done while playing with the setting. Pretty useful for my own reference at least.

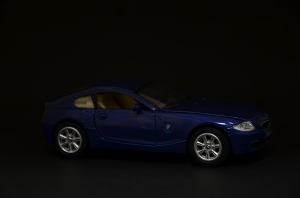
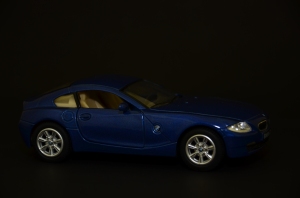
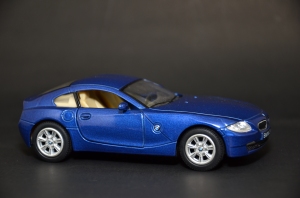
Automatic
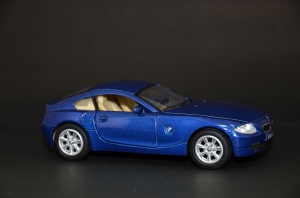
No Flash
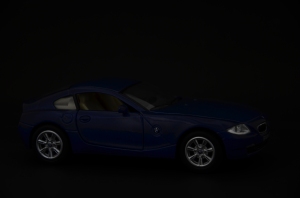
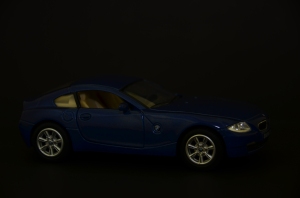
2.0-28ft / -3.0EV 10mm + diffusor
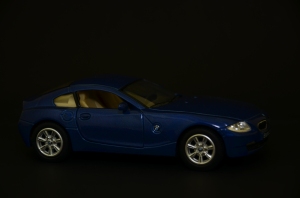
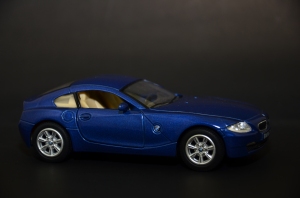
3.0-46ft / -3.0EV 16mm
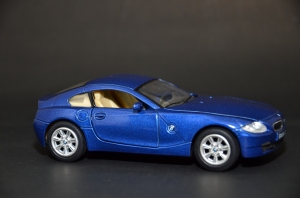
4.8-66ft / -3.0EV 70mm
2.0-24ft / +0.3EV 70mm + diffusor
2.0-14ft / +0.3EV 16
2.0-8.9ft / +0.3EV 10mm + diffusor
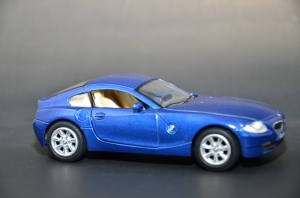
2.0-9.5ft / +3.0EV 70mm